
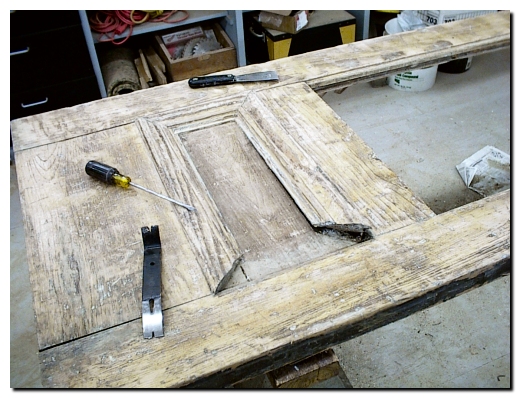
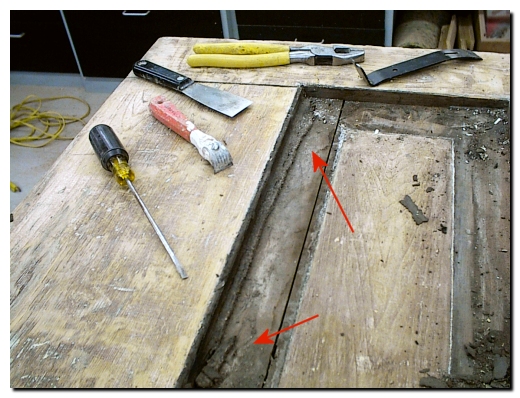
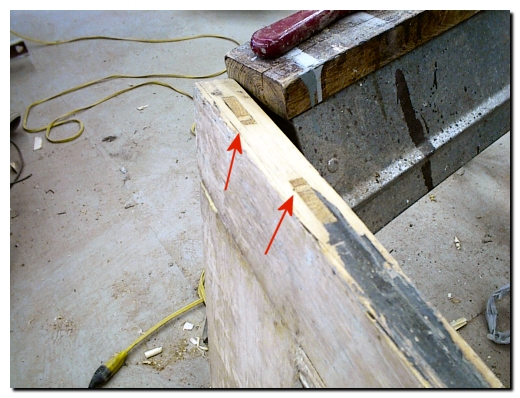
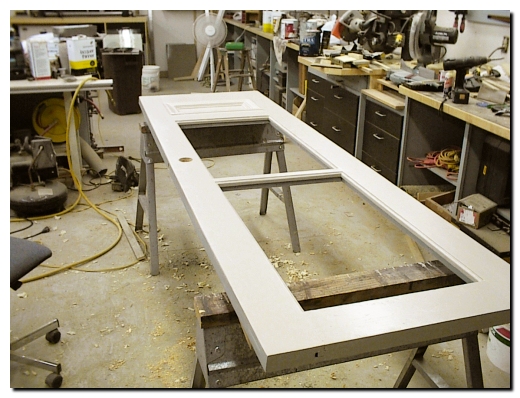
With the paint stripping completed it was time to begin the reconstruction of the door. The biggest problem facing putting this door back into service were the joints that had pulled apart over the years. I had no idea if I could pull it back together with clamps alone. The cross pieces were constructed with mortise joints that extended all the way through the vertical members of the door. I began by removing the recessed panel trim pieces so that I could clean the joints of all the dirt and paint that had filled in the voids. I was shocked to find so much dirt under the lower piece of trim (red arrows point to the dirt in the picture below).
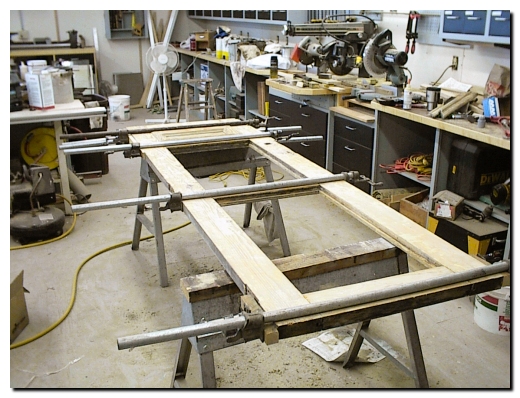
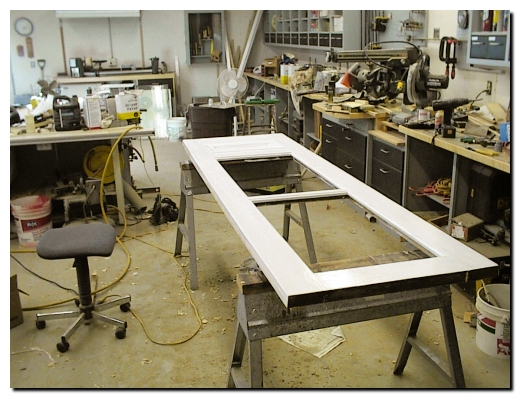
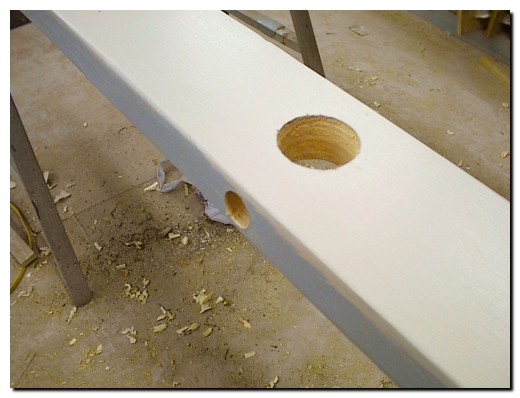
After cleaning the joints I filled them with polyurethane glue that is rated for exterior use and then used pipe clamps to pull the joints back into place. I was surprised to find that the joints moved easily back into the proper place. I left this clamped for over three hours to make sure that the glue was set. While it set I went to work on patching the old deadbolt and latch holes that will not be used. I constructed a jig to route the recess in the door. The picture below shows the jig with a couple fillers in place to route a second recess for the edge of the door.
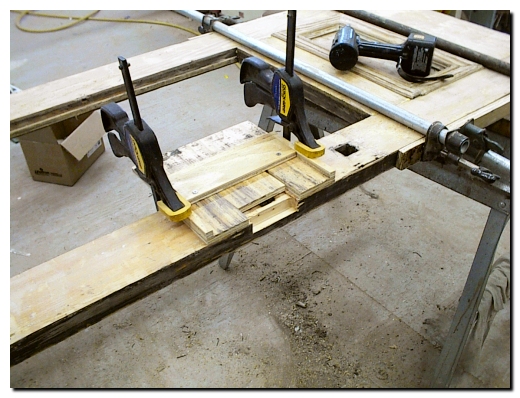

The picture above shows the jig in place to route the deadbolt patch and the clamp is holding the latch door edge patch in place so the glue can set. The final patches are Ľ” thick clear pine that is pressure glued in place. The picture below shows the surprise I got when I started cleaning the door edges of paint. The tongues of the mortise joints were now extending through the vertical members and I discovered that the original constructed used a wedge in the center of the tongue to tighten it in the recess. I suspect that this door was not originally glued together.
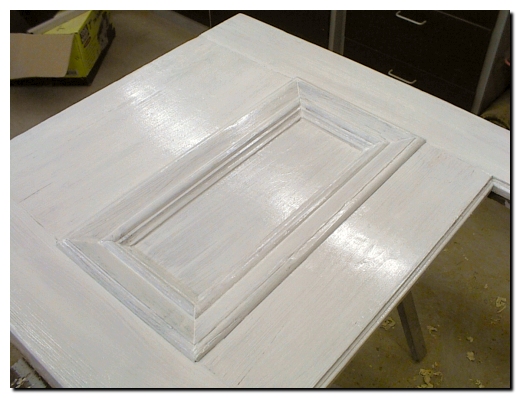
I sanded all the surfaces of the door and filled the old nail and screw holes before applying a coat of exterior oil based primer to the outside of the door. The recessed panel trim was replaced and with all the old paint removed the detail of this part of the door became much easier to see.
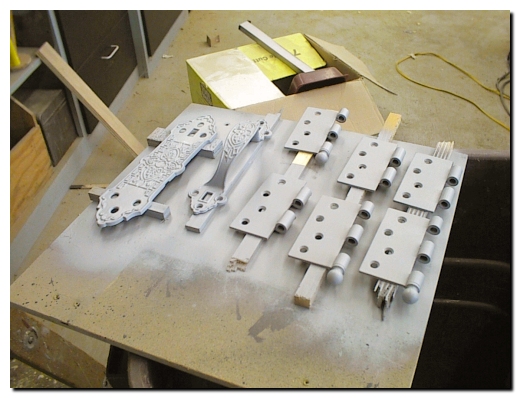
Up to this point I have not discussed the original hardware for this door. The hinges are plain steel that were originally painted black and then painted the same color as the door. I do not like this look so will paint them black to match the original color of the door pull. The pull is missing all of the inside latch assembly and the thumb latch was broken off. But it is such a unique design that I want to keep it. I soaked all the metal hardware in lacquer thinner because the stripper simply didn’t have the strength to remove the many coats of paint. I soaked the pieces overnight and then wire brushed and scraped them to remove all the old paint. The picture below was taken after applying the primer to the second side of the metal. I will all new screws and will paint the heads of them black to match.
The finish coat of paint on the exterior of the door came next. I applied a coat of latex satin paint and then bored the holes for the new deadbolt. As much as I’d like to keep this door as original as possible, without the interior pieces and with the interests in security I purchased a new double-keyed deadbolt lock.
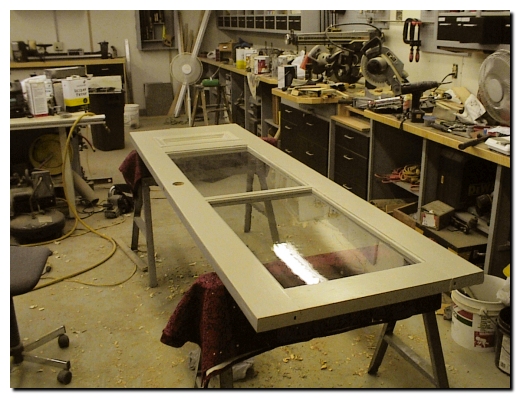
The final step in reconstructing this door was to install the original glass. I used caulk to set the glass against the exterior stops and then nailed the interior stops in place. I noticed that the top glass must be the original glass but suspect the bottom glass may be a replacement. This judgment is based on the fact that the upper glass fit perfectly, even though I pulled the door back together, which reduced the door width by almost a Ľ”. The bottom glass would not fit and I had to chisel out a portion of the doorframe to get the glass to fit. I think this means that the bottom glass was replaced after the door joints separated. The next step will be to reinstall the door.
NOTE: This project is underway at this time (October 2006) so check back from time to time to see how this comes out.
Return to Dan's Shop Page. . . . Previous Page
If you have any questions or comments please feel free to send e-mail.
This web site, like the rest of www.breyfogle.com, is self-supported, but occasionally we find a commercial site that we really enjoy working with and will direct you there for further information. We have found Hartville Tools to be a great source of tools at a reasonable price and their website is very easy to navigate. Give them a try.
If you do not see a menu bar on the left you are missing a lot more information like this on www.breyfogle.com