
Nearly 9-years ago, August 2004 to be exact, we traveled to Berea, KY for what was known as the Breyfogle Convergence, a world wide gathering of the Breyfogle family. We took a little time to walk around the square in Berea and came across a little shop that had, among other things, Mountain Dulcimer kits. After a conversation with the shop owner, which in truth was a heck of a sales pitch, I purchased a McSpadden Mountain Dulcimer kit. When we got home I had every intention of starting on the project right away, but somehow my best intentions did not turn the kit into a musical instrument. In the first part of May 2013 we were organizing a closet where the dulcimer kit was stored and I determined that it was going to become more than a box of parts.
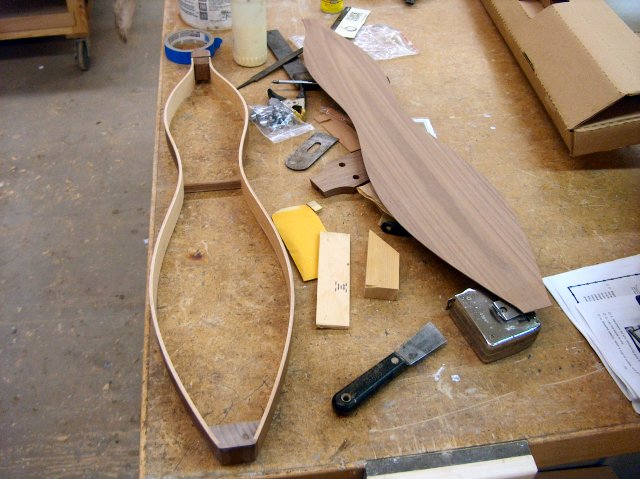
The kit contains all the components to construct an hourglass shaped flathead 4-string mountain dulcimer. It is solid black walnut and walnut veneer with brass frets and chrome mechanical tuning pegs. We had not opened the box and after inspecting it breathed a sigh of relief that all the parts were there, it was a little too late to start a claim for missing or damaged parts. I started the construction by assembling the frame that consists of two pre-bent laminated sides, 2-solid walnut blocks and a center stretcher.
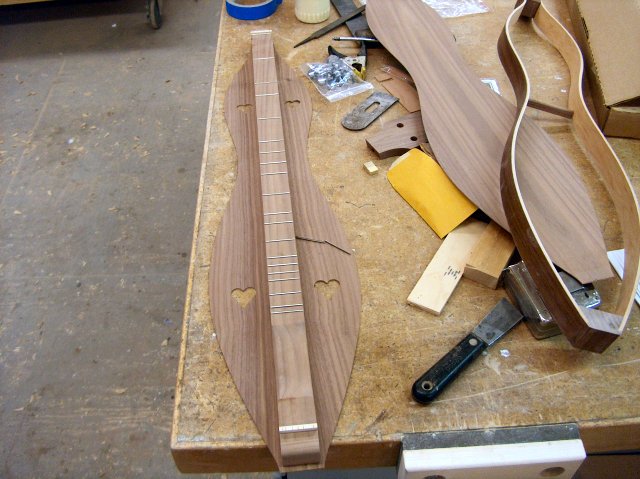
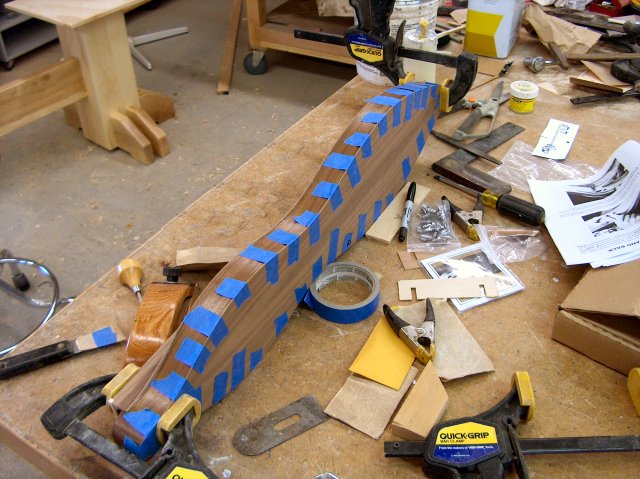
The instruction booklet that came with this kit, although highly detailed, at times was a bit confusing and some of the steps seemed awkward so I altered a few assembly steps to suit my own thought process. In looking ahead at the method of assembly I decided to apply a coat of polyurethane to the frame assembly to prevent glue from sticking to the sides when the top and bottom were installed. The next step was to install the frets on the finger board. The finger board came with slots cut for the brass frets and the instructions mentioned that this step could result in a playable instrument or an attractive wall hanging. Each fret was tapped into the slot with my tack hammer and then I used a piece of plywood to drive them all the way into the slot. I lined the finger board up on the top and used painters tape to mark its locations and also to prevent glue from squeezing out onto the raw walnut veneer.
I glued the top onto the frame after carefully dry fitting it to make sure everything fit properly. The 1/4" sides and center brace are about all that holds this all together so I was careful to apply a good bead of glue all along the sides. Once taped in place I added clamps to make sure all the surfaces were in good contact. I let this set for an hour before removing the tape.

The back was easy to apply as it has a couple braces that were applied earlier and kept it from sliding around. I used plenty of tape to make sure it was held in place as I knew I could only clamp the ends.
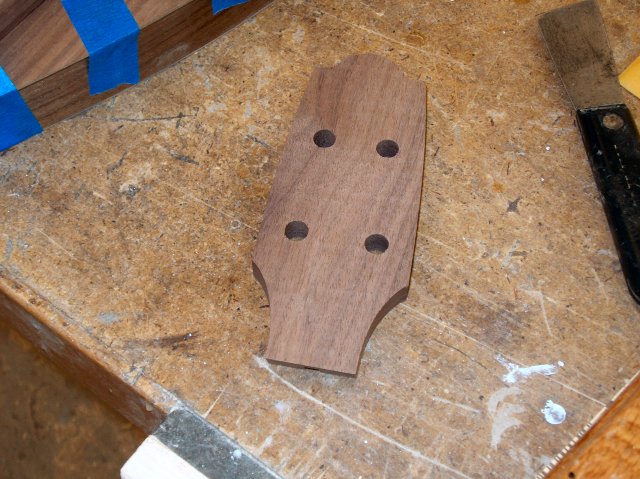
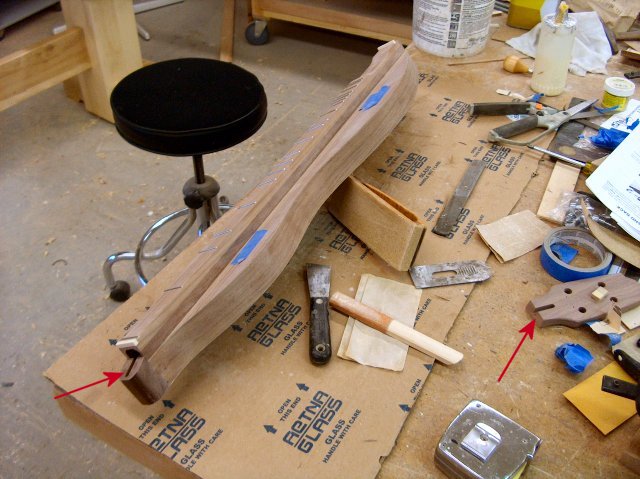
While this dried I went to work on the peg head. The instructions offered the builder the choice of using it as supplied in the kit or altering its shape and detail. The 3/4" flat stock had a nice shape, but was so plain that I decided to do a bit of relief carving to enhance its look.
Once the top and bottom were dry I removed all the tape and clamps and started trimming the top and bottom flush with the sides. I found this to be the most time consuming part of the project as there is no room for error. The veneer on the sides is about 1/64" thick so one slip and the white under layer would show through. The top and bottom are three layers of thin veneer, two walnut and a lighter inner layer that felt like maple as it was very hard to shape. I used a wood rasp, sanding stick, and sanding block to work my way around the edges. The varnish turned out to be a perfect application as I could see it start to dull from the sandpaper and knew to ease up on the pressure to avoid damaging the veneer.
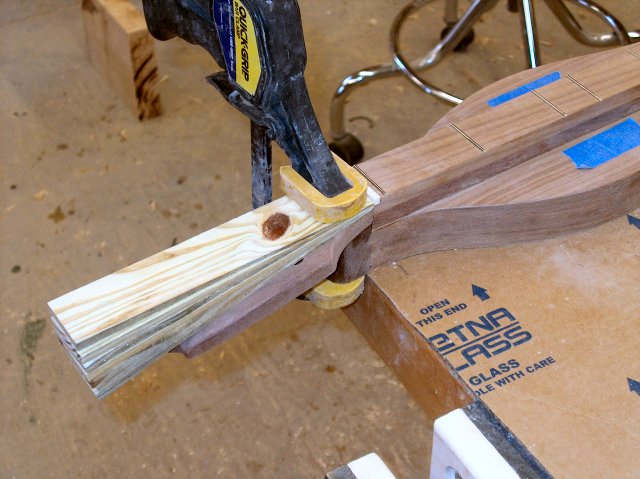
Now it was time to glue the peg head onto the dulcimer. The image above shows a slot in the head piece where a plywood spline is glued in to hold the peg head in position. The only thing holding the peg head in place is the spline and glue so I was careful to check the fit and applied plenty of glue to all the surfaces. I used some shims to provide a level clamp face while the glue set. The peg head slants down about 15 degrees from horizontal making clamping difficult.
The final steps on this project include Finishing and Hardware Installation.
If you have any questions or comments please feel free to send e-mail.
If you do not see a menu bar on the left you are missing a lot more information like this on www.breyfogle.com