Windows on any project are a huge decision and they usually mean spending condsiderable money. We are not here to advertise for Anderson windows, but we would be remiss in not explaining our motivation to include this fine line of windows in our project. In my earlier experience installing windows for contractors I worked for I had used many brands of windows, some good, some not so good. In fact my very first choice would have been the Pella Window line since I think they are a very high quality window and they are produced here in Iowa. But when we started looking at price and features we quickly decided that Anderson should be the window of choice.
Perhaps the largest single factor that influenced our decision is that the 1975 flat roof addition had Anderson Casement Windows and they were if great shape, both inside and out. This told us that 25 years of use did not harm the windows and this is a pretty good selling feature. The other factor was the cost. Yes, Anderson's are more competitive than others, but there was also the factor of what about the windows all ready iin the addition? We did not want to scrap them, after all there was about $3,500 worth of windows that we could reuse and other than the fact that they needed a little cleaning up they were just like new.
As with our previous projects we had to make a decision in 1997 where to start. We had all ready completed the windows as part of the additions in the following areas:
- Master Bedroom - new window on the south
- Sunroom - new windows on all three walls
- Master Bathroom - new window on south wall
- Library - new windows on the south and east
- Living Room - new window on the east
- Entry - new window on the east
- Mud Room - salvage window from master closet
- 3/4 Bathroom - new window on the west wall
- Laundry Room - new window on west wall
- Second Floor Bedrooms - salvaged windows from master bedroom
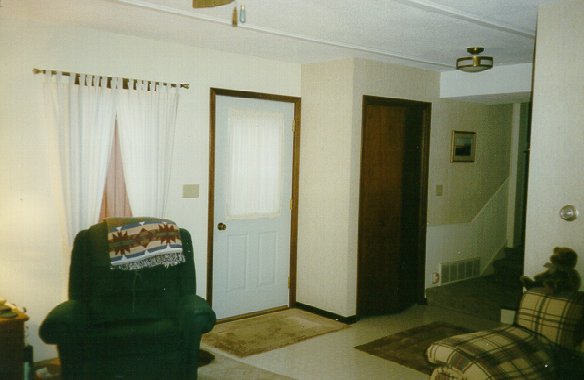
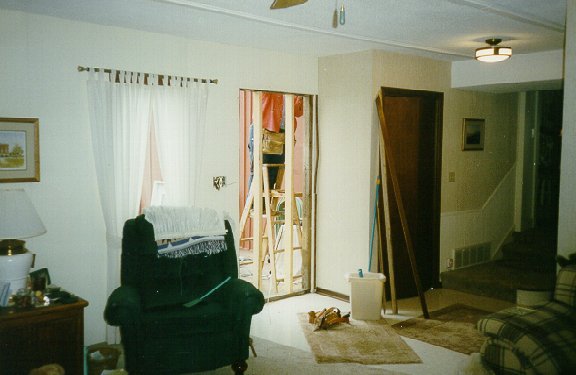
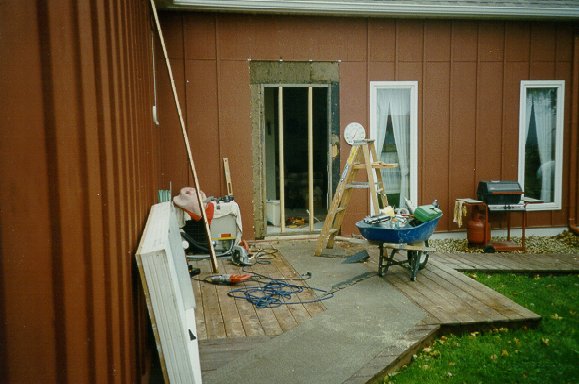
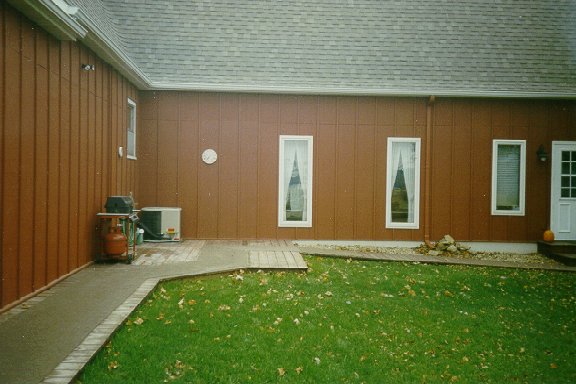
So the very first project was to get rid of the old north door that was the primary entrance to this house every since 1975. I had replaced the origiinal door when we moved in the house because a previous tenant had kicked it in to gain access when they lost their key. I tried making repairs to the wood door but it was in such tough shape that we replaced it with a steel insulated door. So the door you see above was that replacement. I carefully removed it and used it over in the mud room. We needed a door on this area and the window was nice to let light pass through.
This project was fairly simple in that I had installed the replacement door using screws instead of nails so it was out of the opening in a matter of minutes. I studded up the opening and replaced the plywood sheathing with new 1/2" CDX that we had painted in advance.
The project took a little longer than I had planned as I needed to replace a rotted bit of subfloor from the problem related to the original door. I should have replaced in when I installed the replacement door but was in a hurry to get it done and left it for now.
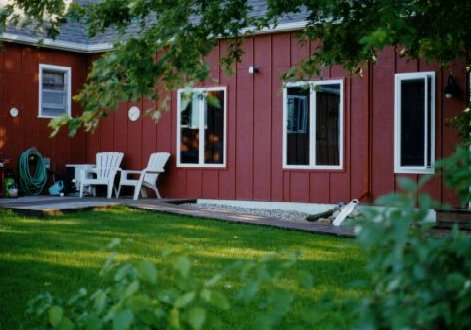
With the door removed and covered over it was time to move on to other larger projects. the two long narrow windows in the family room were replaced next. We only have a picture of the finished project on the remaining windows as I was moving fast to prevent the house filling with bugs or wind blown dust and dirt. We removed 24" wide X 72" high windows and replaced them with 46" wide X 60" high windows. This meant that most of the north wall of the family room was demolished to get the windows back in place. Luckily this is a non-bearing wall so it was simply a matter of kicking the wall out and replacing it. Now as simple as I make that sound does not really tell the whole story, but to keep it short that is what I did. I did use headers above the windows even though they would not need them, and when we finished replacing the sheathing and batts there was no evidence of the change. When I say no evidence of change I mean from the outside, but inside the new brighter than ever family room with a great view to the north was a great pleasure.
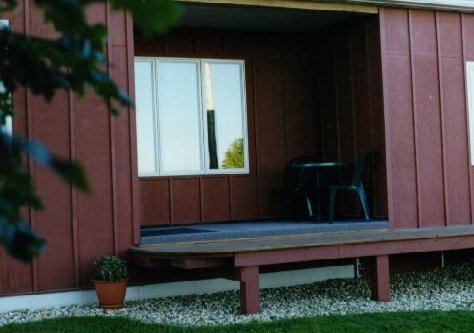
The next project was to replace the sliding glass door on the west side of the sunroom. We had used the 1975 Anderson patio door here but the weather stripping was in prety bad shape and when we looked at the cost of replacing the weather stripping we decided it would be better to replace the door with a faux door. We did not use this door and had no plans to use it in the future. but we did like the look of the full length glass so decided to go with two fixed panels that look like a door. The wind on the north and west sides of the house can get pretty tough so having a sealed unit just made sense. We did not get any pictures of this project.
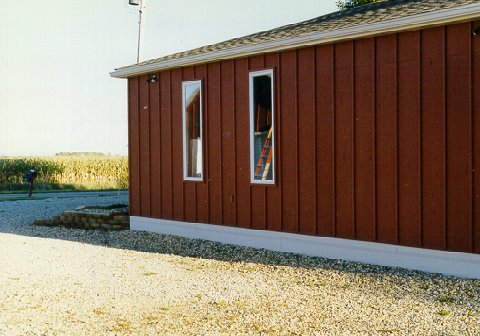
When we framed the garage in 1996 we left rough openings for the old family room windows so installing them was a simple matter of cutting out the sheathing and nailing them in place. Of course we finished off the area with batts and what a difference it made to get some outside light in the garage. The next project was the largest and required the most work, the dining room window.
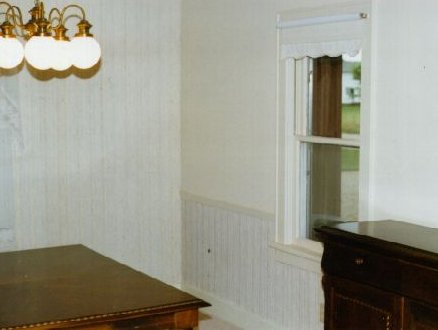
The picture above shows the east window in the dining room. It was a double hung window with the iron weights, like all the original windows in the 1930 section of the house. It was in horrible condition and did little to stop the cold winter winds and was nearly useless for light and summer breezes. This is the room where we spent some money for a very large window and some effort to get the opening framed in. Because this was a bearing wall it required propping up the ceiling joist from the inside while I removed the studs and installed the new header.
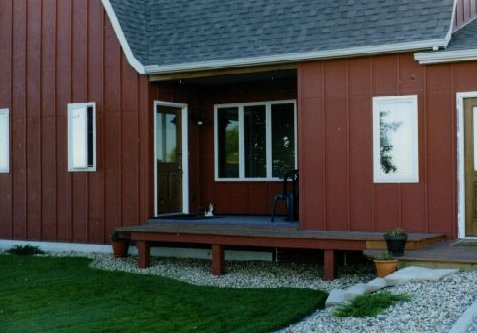
Once the rough opening was framed Sandy and I wrestled the 72" wide by 60" high door into the stoop area and then slowly raised it up on blocks, then onto saw horse so we could ease it into place. This window not as heavy as it was awkward, but we did not want to make any mistakes and damage it since it was the most expensive window to install. We offer two views of this window from the outside since the opening is so dark and it is hard to get a real feel of how nice this window looks in the opening. We are so impressed with our Iowa Farm view out this window as the seasons change. Regardless if it is frozen black dirt topped with white snow, new plowed fields, or the crop just coming up, the view never ceases to amaze us.
Return to our Home Projects page.