|
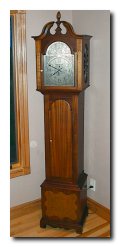
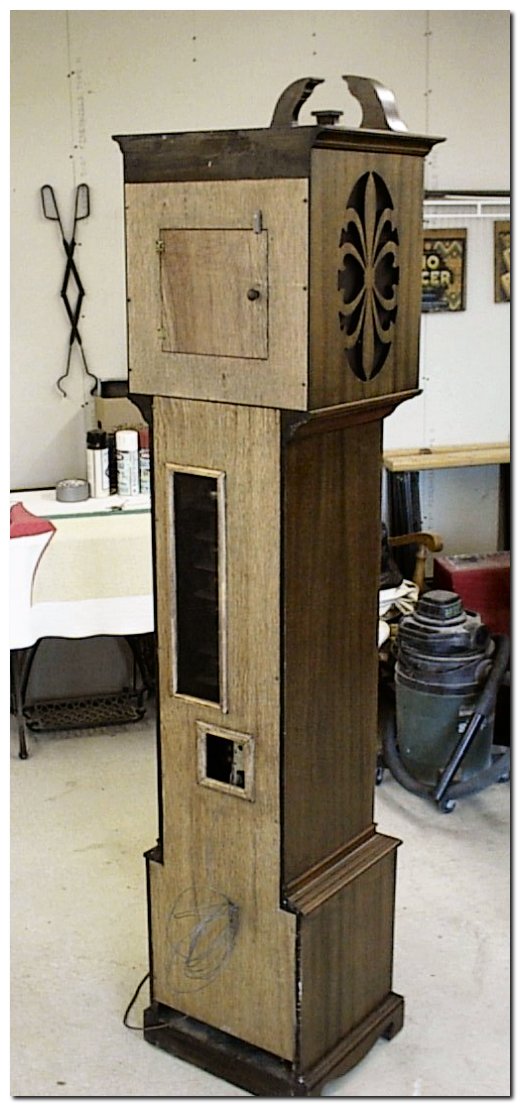
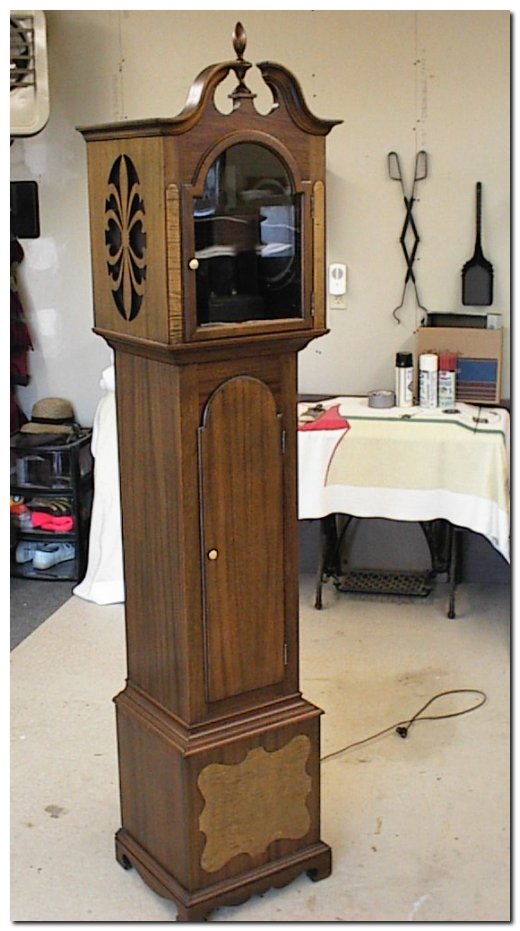
General Electric LongfellowClock RadioCirca 1931My son Dan was instrumental in getting me involved with the largest clock radio that I have ever worked on in my shop. As with everyone we speak to about this radio the minute you say clock radio visions of a small table model alarm and radio come to mind. But in this instance it is a very large grandfather clock, about 6 feet high, that has a radio installed in the base and an electric clock in the top. |
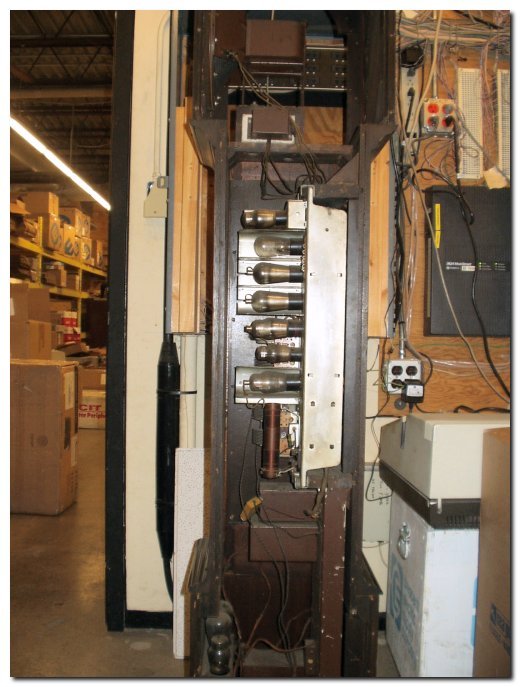
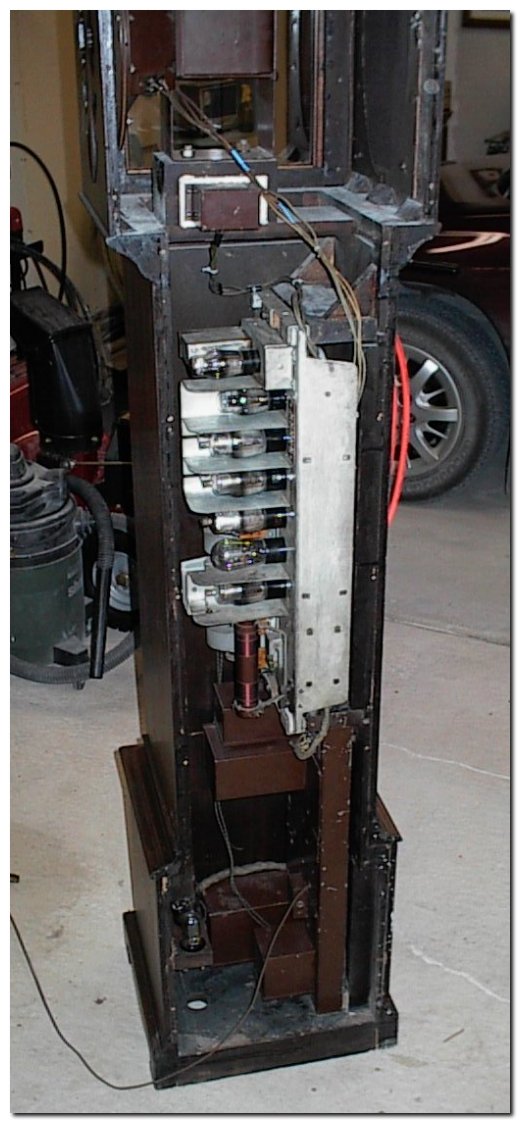
Upon seeing pictures of this from the owner it was my initial thought that this was some sort of a proto-type or R&D unit, perhaps even a custom made piece. But further research told us that it is a 1931 vintage and is a General Electric model H-91, and is called the Longfellow. Our research on-line showed us several clocks that had been restored and there were minor differences in the cabinet style so this unit was definitely in production for more than a year or two. The pictures below show the radio as we received it. Several pictures were sent by the owner to give us an idea what we were looking at. Electronic RestorationI found this listed in my Rider Manual #4 along with several similar models of the same radio and it did have some predecessors with a very similar chassis made by GE but a few tubes were different numbers. This one has ten tubes consisting of 3 - 35’s, 3 - 27’s, 2 - 47’s, 1 - 24, and 1 - 80. What is very interesting is that this radio came to us with many of the original tubes; they were dead of course, but still in place. I was able to find a source for new - old stock tubes to replace the bad ones as part of the restoration.
The real deluxe model H-91 also had a remote control. It was on a 15-foot cable and allowed you to turn set on/off, turn volume up and down as well as tune in different stations. An interesting circuit to say the least and it was controlled by a small motor that was used for all the functions. My literature tells me that the engineers designed the motor armature to move up in the field for tuning by controlling the amperage. There are some rather precise adjustments to make this work and I was just as happy that this set did not include this feature.
It is a superhetrodyne type of circuit, with an IF frequency of 175 KHz (KC at the time of manufacture). This chassis also has the new circuitry of an automatic volume control tube (one of the 27's). This is the circuit that gave me a bad time in getting it repaired. These older tetrode tubes require a higher bias voltage to cut off the plate current than any of the more modern types. Consequently the negative bias supply is much higher than is commonly used. It all came down to locating the resistor that had increased in value so it was considered to be ineffective in this high impedance type circuit.
This radio was built on two very heavy chassis with the rectifier and the two output 47's on a wooden chassis separated by each other with no disconnects of the interconnecting wires. It was a difficult process to remove and reinstall them in the beautiful tall walnut cabinet that was restored by my son Dan. I have done my share of wood radio restoration but was pleased that he offered to take this one on. The size alone makes it a tough project. You can read about his restoration work at the bottom of this page.
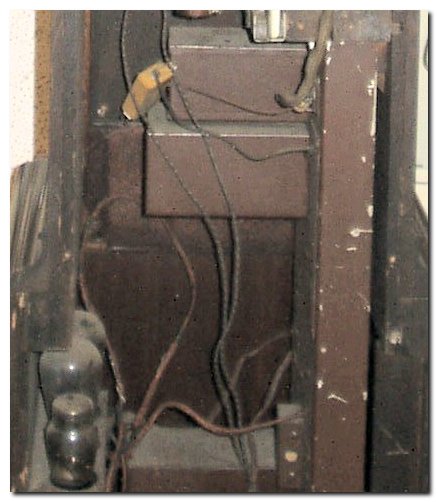
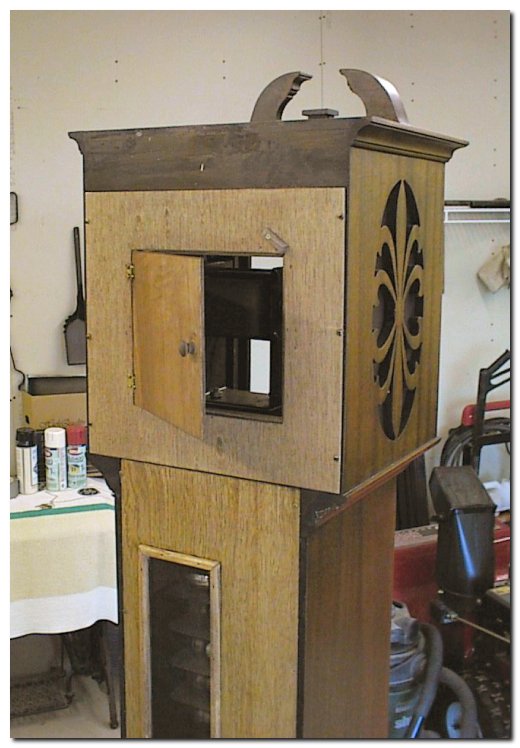
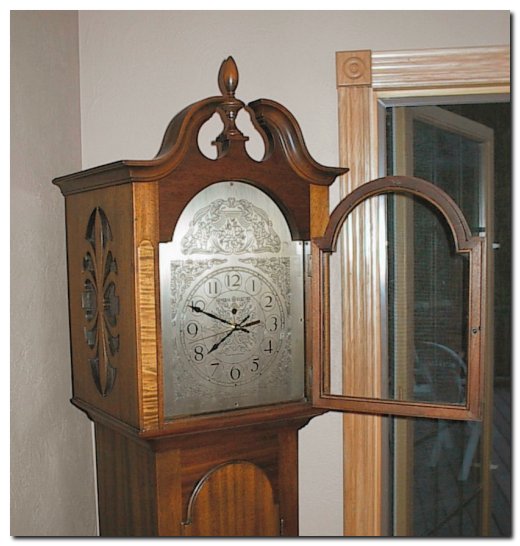
The speaker is located in the top, behind the electric clock, and facing to the side. It is also constructed of very heavy steel for the frame and of coarse a very large field coil to form the magnet. The voice coil is supported by a chammy annular on the edge.
This radio preformed very well when it was finally powered up with just a short length of wire for the antenna. The volume control is unusual as it has a delayed action due to the design. It basically controls the bias to the first audio tube, one of the 27's. The auto volume tube then controls the bias to the first RF stage and also the first IF stage. In all of my 60 some years of electronic repair this has been the earliest radio that I have worked on that had a superhetrodyne circuit. Just in case anyone does not know what this is all about briefly it is a method of converting the received frequency to a lower frequency, which is easier to amplify and detect for the audio that you want to hear. I would say that all receivers now in use are of this type.
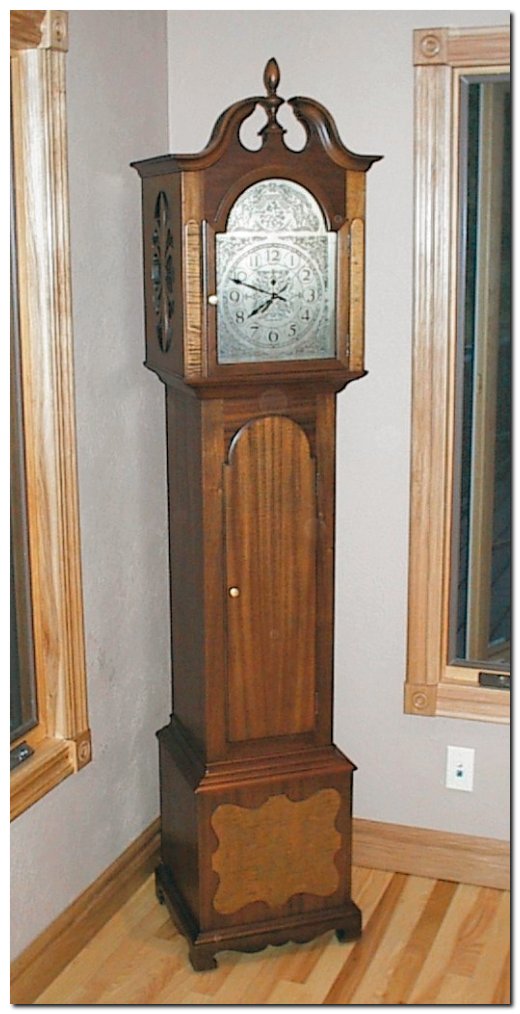
My overall impression of this radio is that although it is in a beautiful case, and built like a tank, it is not nearly as sensitive as some radios of this era and although the sound is good it certainly does not give the same quality of other radios I have restored. It does require a length of wire for an antenna and I suspect that if it had a good outdoor antenna it would do much better. Any reservation I have about the sound and sensitivity of the set though are erased when I look at the completed cabinet and the unique design factors.
Cabinet RestorationAs Dad mentioned this piece came to us in need of both electronic restoration and finish restoration. Luckily this piece had been taken care of and we doubt that it ever spent any time "in the barn." Yes, in the barn, so many of the old radios that Dad restores ended up stored in unheated garages, sheds, and barns, and the mice and moisture take their toll on the cabinets as well as the circuitry. There were a couple small problems that came with this cabinet.
The cabinet was structurally very sound with no signs of weakened joints or loose veneer. I did decide that it was a walnut veneer cabinet but until I got into the restoration I was unable to tell if the hardwood accent pieces were walnut or a lesser grade colored to look like walnut. Since the cabinet was in sound condition I decided not to use a harsh stripper or sanding on it, thereby keeping the 70 years of patina in the wood itself. I have known about Formby’s Refinisher for many years but have never had an opportunity to use it before now. What a great product, I used it as directed, but substituted a 3M refinishing pad instead of the steel wool they suggested in the directions. The finish came off looking like ink on the surface. It was jet black and it didn’t take too much effort to find the most beautiful walnut veneer I have worked with. The face panels turned out to be tiger maple and were applied on the surface of the cabinet, a very nice touch as it adds an additional dimension to the design. The hardwood accent pieces are solid walnut and cleaned up beautifully. Once the finish was removed I lightly sanded with 400 grit paper to remove any fuzzy effects and then applied two coats of Minwax stain and oil finish. I chose a plantation walnut color since it would not darken the wood, but did a great job of bringing out the wood grain. I let this dry for 3 days and then applied three coats of satin polyurethane thinned with acetone. This dried for another three days and I wet sanded the entire cabinet with 400 grit automotive paper and sprayed two more coats of polyurethane to complete the cabinet finish. The finial was a bit of a challenge. It consists of two pieces, the base and the finial. The base had been broken for many years and had been split into three pieces. The finial was loose when we received the clock so I had removed it for safekeeping. I at first considered turning a new finial and base piece out of walnut, but since the entire clock cabinet was as it came from the factory I decided to try restoring the original pieces. I was able to pull the base apart and cleaned all the gummy glue off; unfortunately the backside of the piece had a substantial amount of wood missing. I glued the three pieces back together and waited overnight for it to dry. I then glued the finial back in place and waited another day to build up the base with wood putty. I used a dark colored plastic wood type material and sanded it to shape. This all got the same stain and oil finish and then sprayed with polyurethane. The plastic wood showed through a bit so I then brushed on several coats of Minwax Plantation Oak colored Polyurethane to darken the base to hide the restoration of the base. This piece was left off the finished project until it was delivered to prevent any chance of it being broken again. I glued it on with some 5-minute epoxy. The door catch was repaired using a replacement socket and although it was not a perfect match to the original it matched close enough to keep the doors shut. The radio door did have a slight warp to it that makes a good fit difficult, but the overall effect was good. The final step to the cabinet restoration was to build a new back. The clock came to us with no back and as most who know and understand old tube radios know it is not really safe to use this sort of radio around curious children with the hot tubes and live connections. So I use Ľ" mahogany plywood to fashion a 2 piece back. The top has a small door to allow access to the replacement clock works (the owner had a battery works installed to replace the worn out electric clock). I used a simple wood knob and catch and applied enough stain to give it a little color.
The bottom back piece included a long vent area covered with fiberglass window screen and an access hole for the ground and antenna connections. We discussed the cord placement and couldn’t decide how it should come out of the back. When I measured for the back I discovered the answer, in the original design the rabbit for the back stopped 2 inches above the bottom, and obvious indication that the back did not extend all the way down. So this allowed the code to exit the cabinet without any thought to which side it should be located on. I would imagine this also acted as part of the ventilation system.
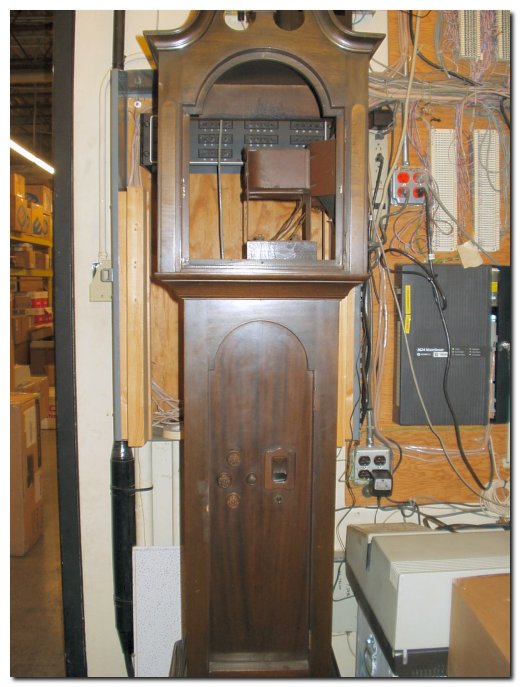
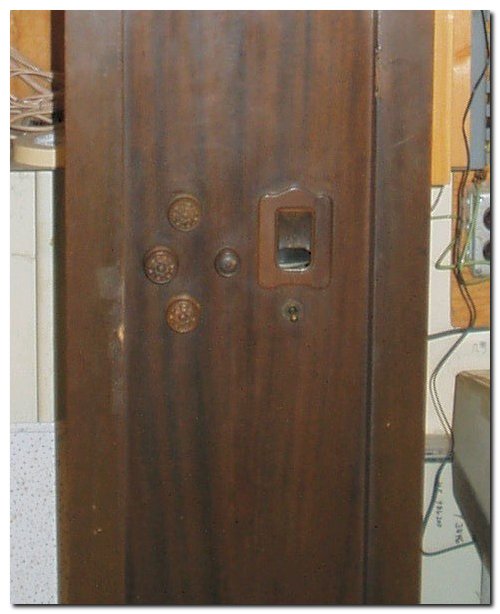
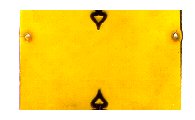
Final ReassemblyDan and I reassembled the radio in my shop, a 2-hour project. We did encounter one final challenge in this assembly process and that was the radio dial piece. When we received the clock there was a hole to view the dial but nothing over it. We both felt that there must have been a prism or some other piece since the dial sets back about a half inch from the opening. The dial itself is black with translucent numbers and markings. When Dan returned home with the truck he found a small 1" X 2" piece of amber plastic on the truck floor that was the missing piece. You can see the scan he sent me below.
This piece was tacked in place with a couple small carpet tacks and it is our guess that someone poked a finger through the hold pushing it out many years ago. Dan reported that the tack was covered with rust along its entire length giving us the thought that it had been out of the wood for a long time. Instead of using tacks we cut small slots in the plastic and attached it with two tiny wood screws, believe it or not I found two matching wood screws in one of my parts drawers.
Getting all chassis back in the case was very challenging since I did not want to cut any of the original wiring harness and this meant handling the two large and heavy chassis pieces attached with wiring harnesses between. We laid the cabinet on the carts with the chassis beside it. It took us some time to inch the chassis back in far enough to get the on-off switch back through the front and then inch the chassis forward again to get the local/distance switch back in place. Then it was time to screw it back in place with the original bolts, which were square head lag screws and a bit of a challenge to tighten with their odd placement and head design.
Dan completed the final assembly in his shop by completing the cabinet backs and when delivered he glued the finial back in place. He also reported that the clock will need further adjustment to prevent the glass door from hitting the hands and stopping the clock. Dan also reports that the brass face of the clock is very heavy and the black lines you see are engraved in the surface and filled with black enamel.
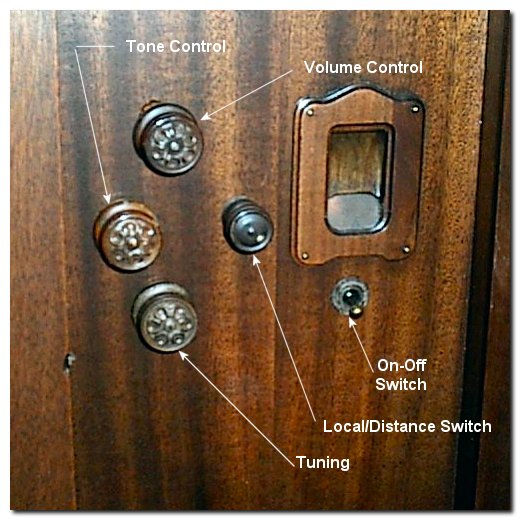
My parting instructions were to tell the owner of the clock that if he couldn’t find a spot for the clock I knew a place for it, my own home. This sure was a fun and challenging project to work on and Dan reports that the clock’s owner is very please with the project. The owner told Dan, "I can just imagine my grandfather and his family setting around an old radio like this in 30’s and 40’s, this is a very special radio for me." We offer this final picture of the controls for the radio. These are the original knobs and are the only part of the finish that was not restored.
| |


Return to Mel's Internet Home Page.